Library Setup
Creating a new project
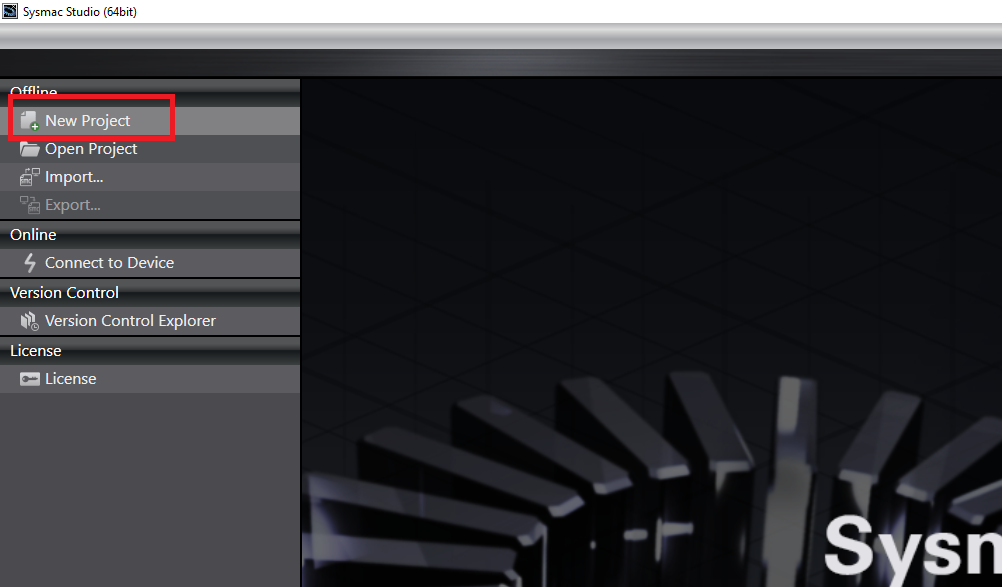
Step 1: Select "New Project" in Sysmac Studio
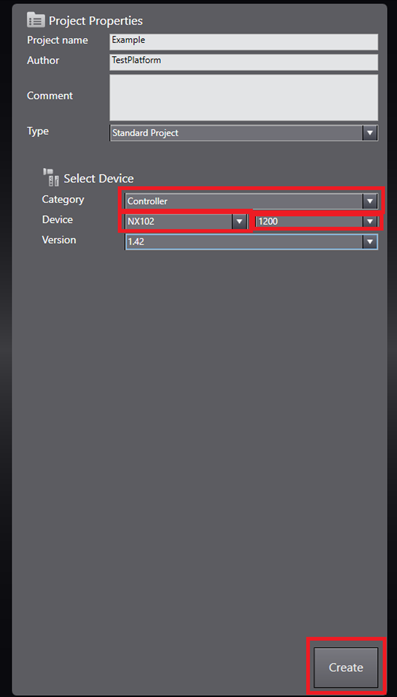
Step 2: In the Project Properties window, select Controller in Category and select the Controller you are using. Then click Create.
Setup Fieldbus
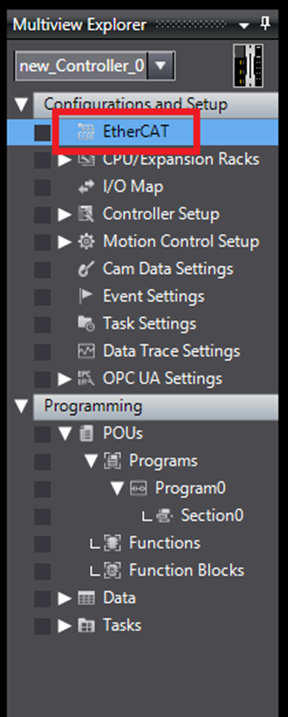
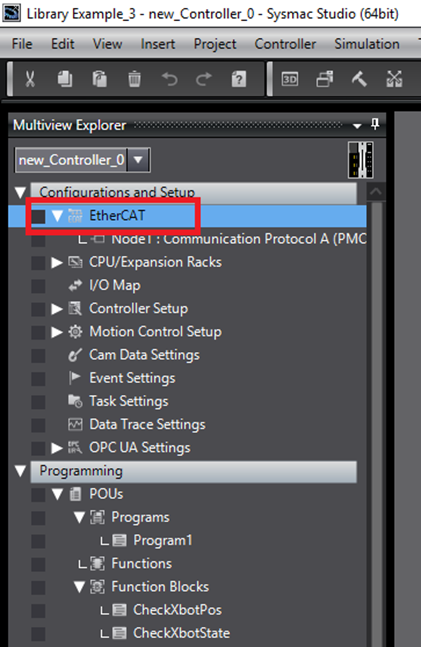
Step 1: In the Multiview Explorer, double click "Configurations and Setup" -> "EtherCAT"
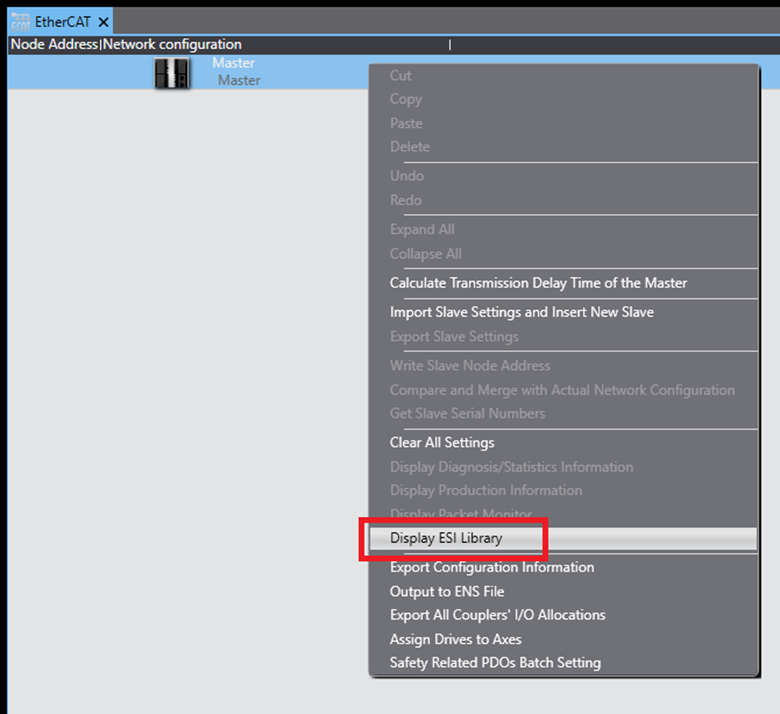
Step 2: In the EtherCAT window, right click the Master and click Display ESI Library. Note steps 2-5 are only needed if this is the first time using the Planar Motor system on this installation of Sysmac Studio
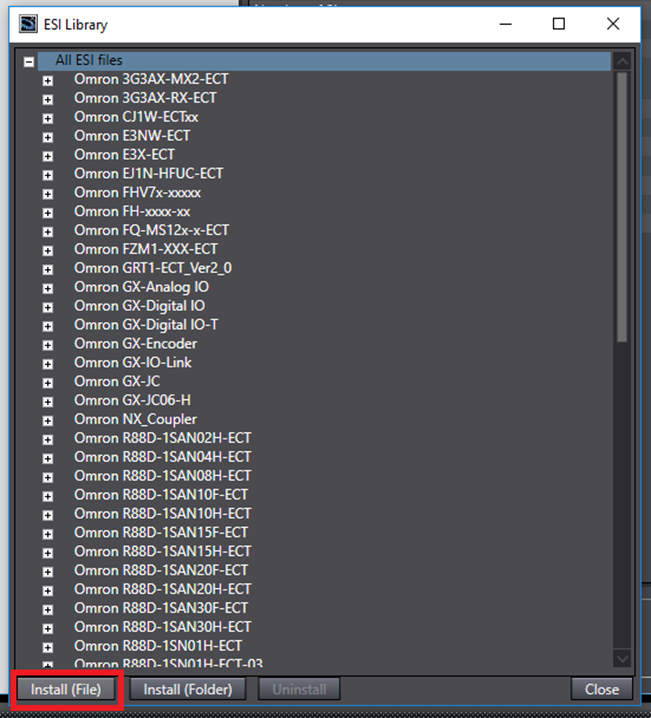
Step 3: In the ESI Library window click "Install (File)"
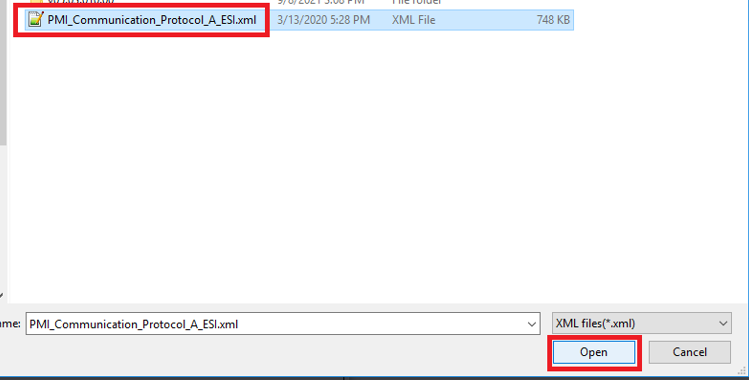
Step 4: In the Open file explorer window navigate to the PMC ESI file, select it, and then click Open
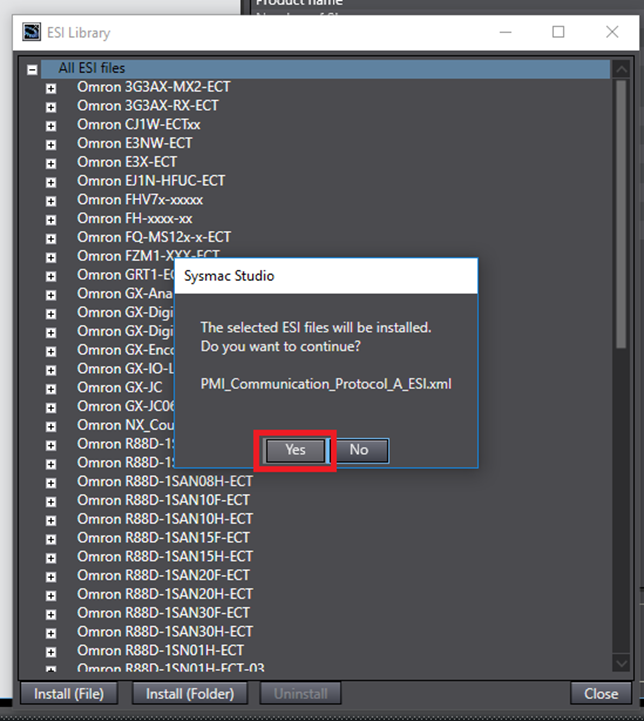
Step 5: Click Yes in the confirmation window
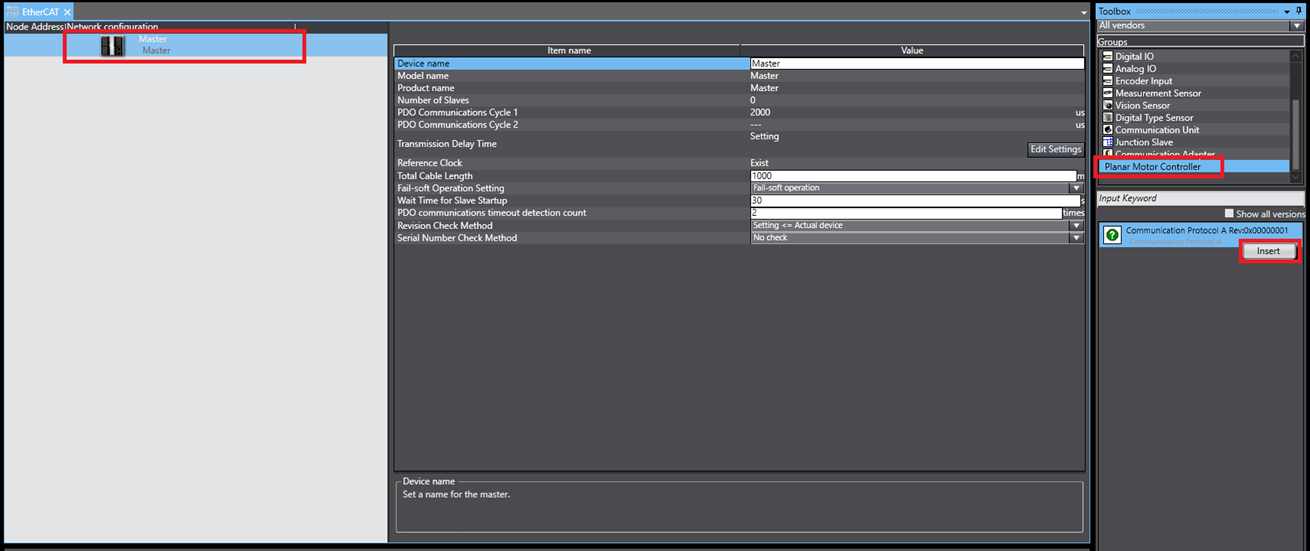
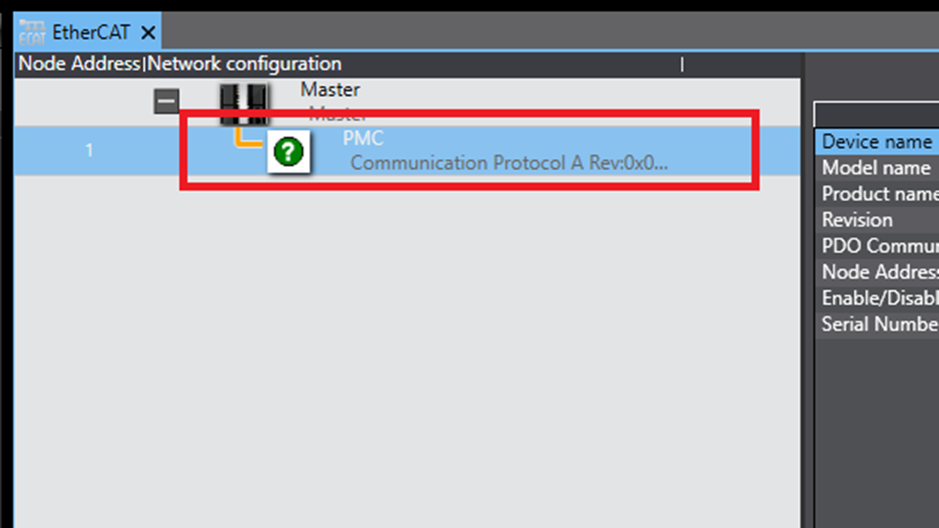
Step 6: In the EtherCAT window select the Master. In the Toolbox select Planar Motor Controller in the Groups menu. Then right click Communication Protocol A Rev:0x00000001 and click Insert
Steps 7 – 14 are for resolving a Network Configuration Verification Error on the PMC.
Step 7: To check for this error go to Tools->Troubleshooting and see if you get the error below. If the Reset All button doesn’t resolve the problem (Omron PLCs won’t auto recover from faults) then continue.

Step 8: Go to the EtherCAT window (Multiview Explorer->Configurations and Setup->double click EtherCAT). Right click the Master and click Write Slave Node Address.

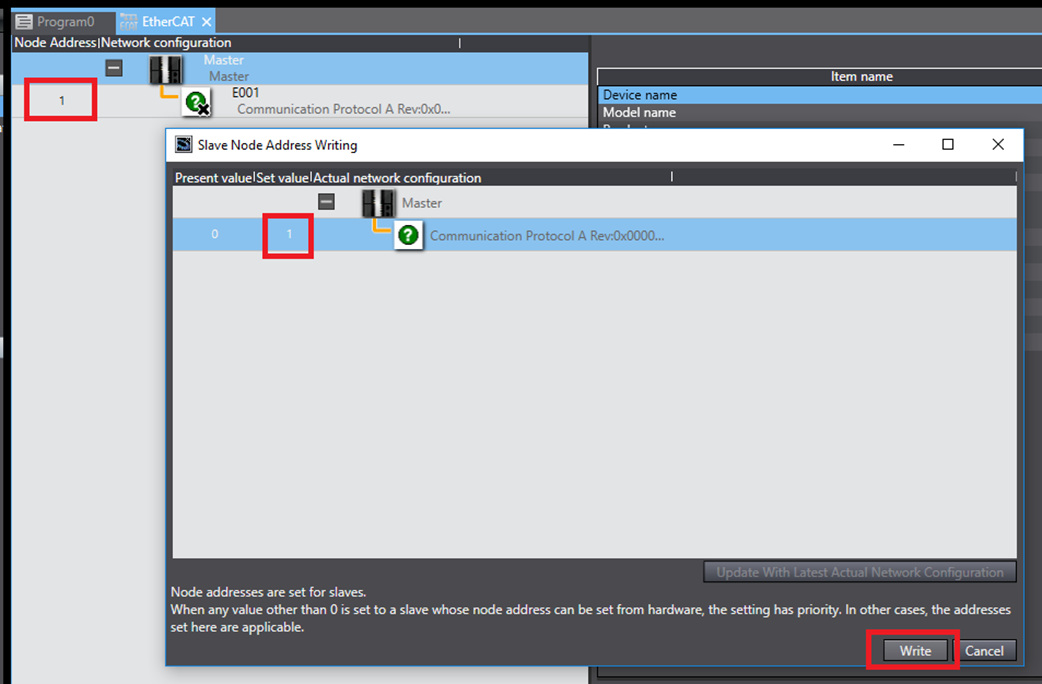
Step 9: In the Slave Node Address Writing window, set the Set value to match the Node Address configured in the EtherCAT window, and then click Write.
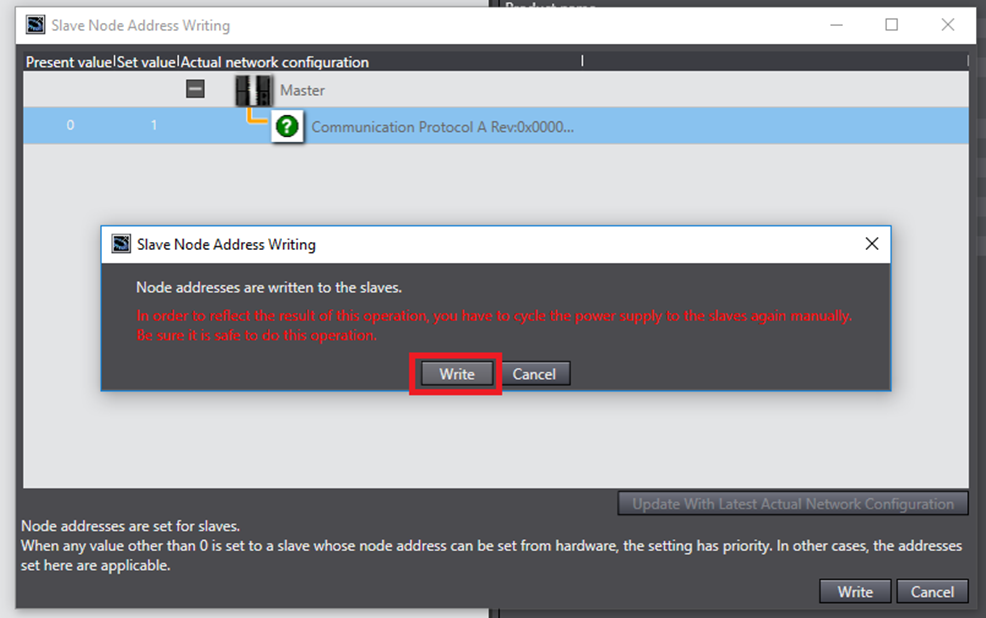
Step 10: Click Write in the verification window, and then once the writing process is completed power cycle the PMC.
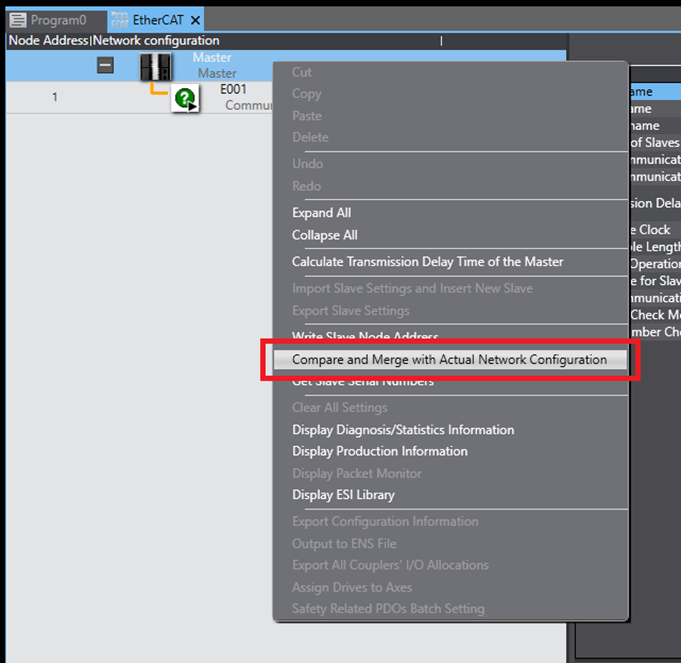
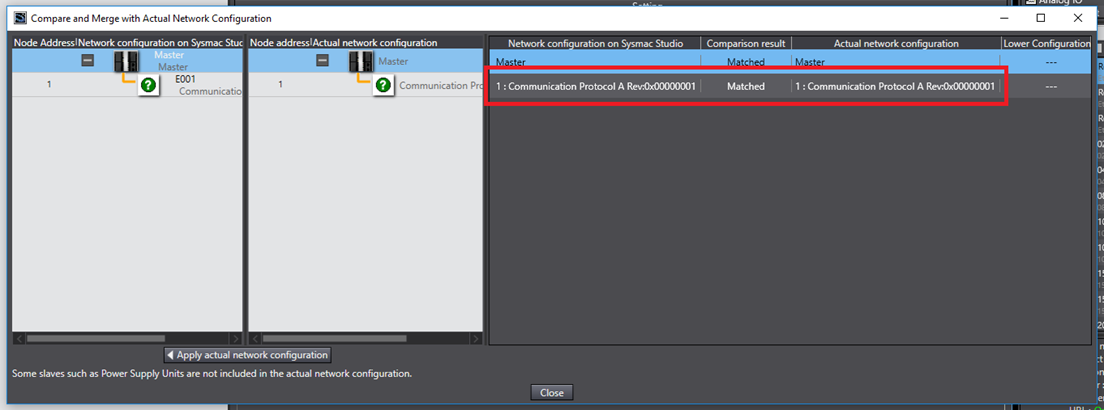
Step 11: After the PMC is done power cycling, to verify that the write was successful, right click the Master and click Compare and Merge with Actual Network Configuration.
Step 12: Verify that the PMC (Communication Protocol A Rev:0x000000001) gets a Comparison result of Matched. Normally at this point you get go back to Tools->Troubleshooting and click the Reset All button and the fault will be gone. If that doesn’t resolve the problem continue on.
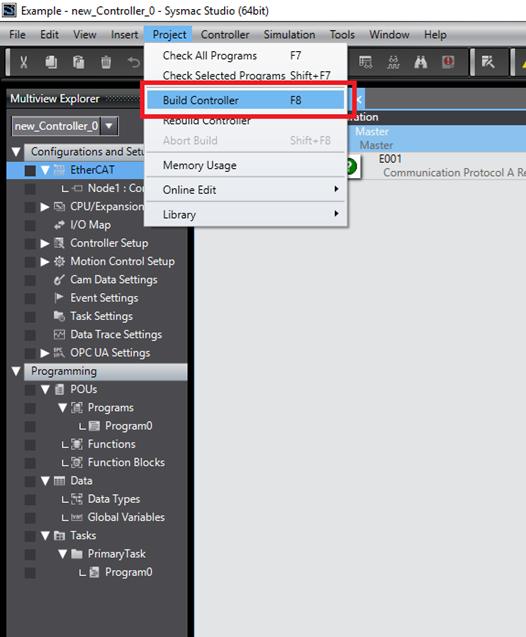
Step 13: If the problem persists you will need to go offline and build the controller again.
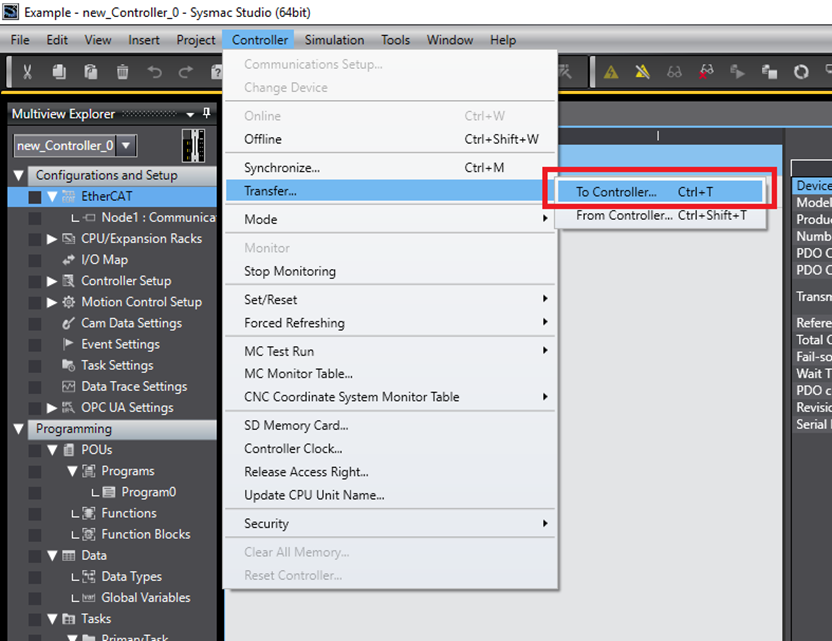
Step 14: After building the controller again go back online and Transfer the newly build config to the controller.
Import and use Library
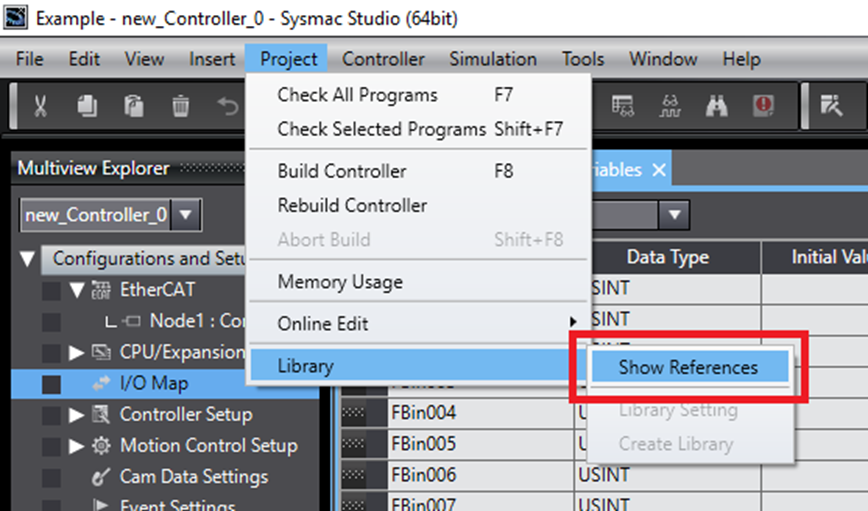
Step 1: Click Project -> Library -> Show References
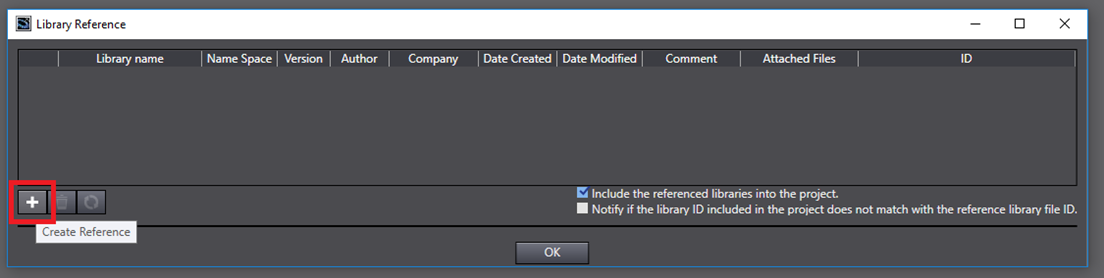
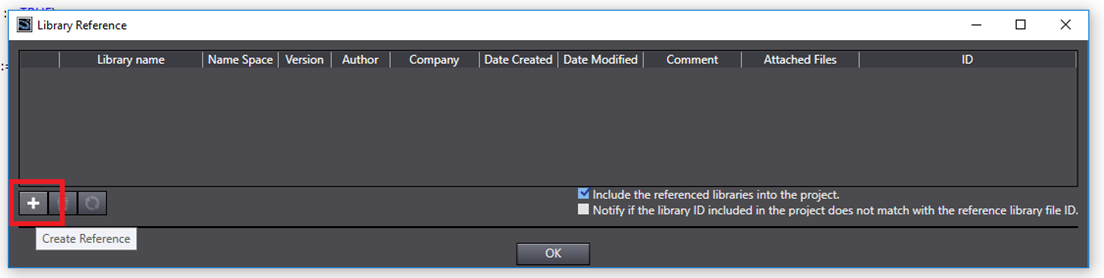
Step 2: In the Library Reference window, click the Create Reference button
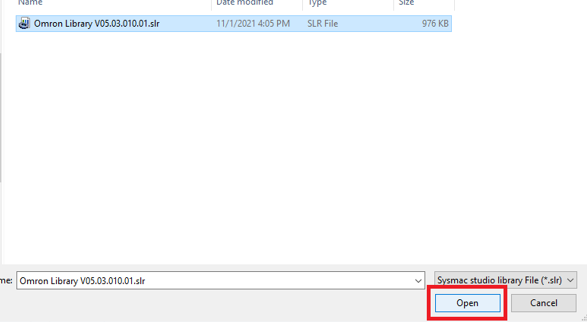
Step 3: In the Refer to Library File window, navigate to the library .slr file. Select the library file and click open.
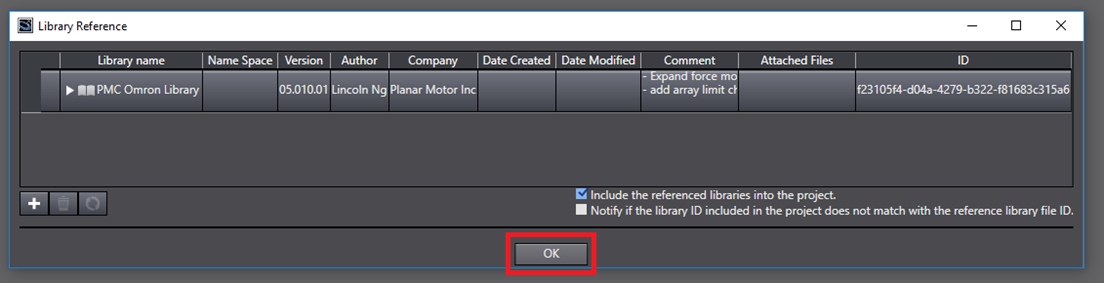
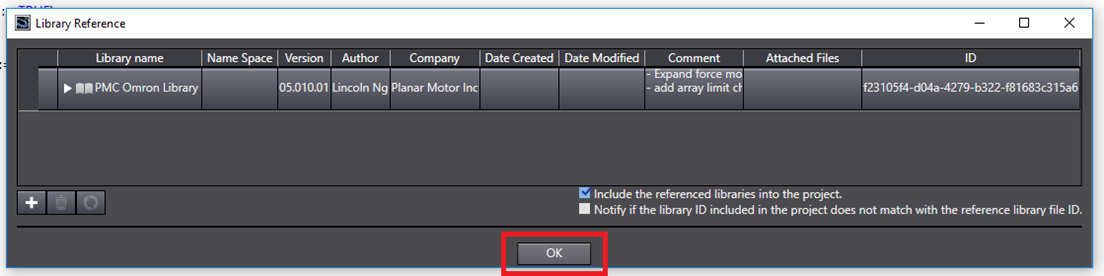
Step 4: Once the library is finished loading (this will take some time), click OK.
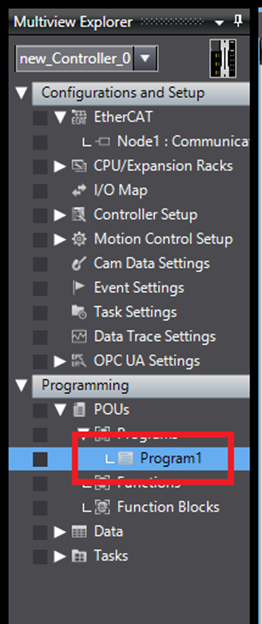
Step 5: In the Multiview Explorer, select Programming->POUs->Programs->Program1 (name of main program in the cyclic task)
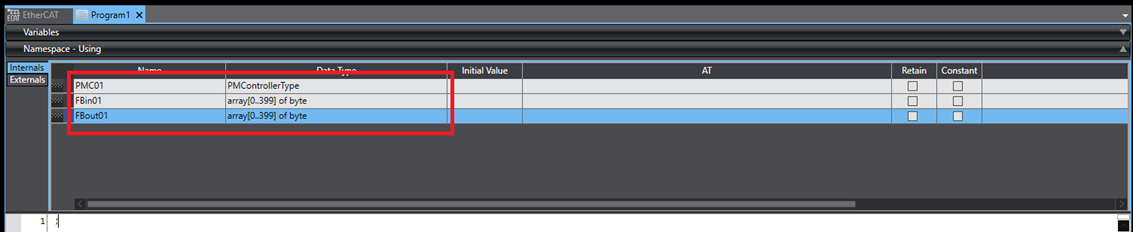
Step 6: In the program declare a PMControllerType variable and two 400 byte arrays. It is recommended to name the arrays so that you can easily tell which one is going to be mapped as input and output.
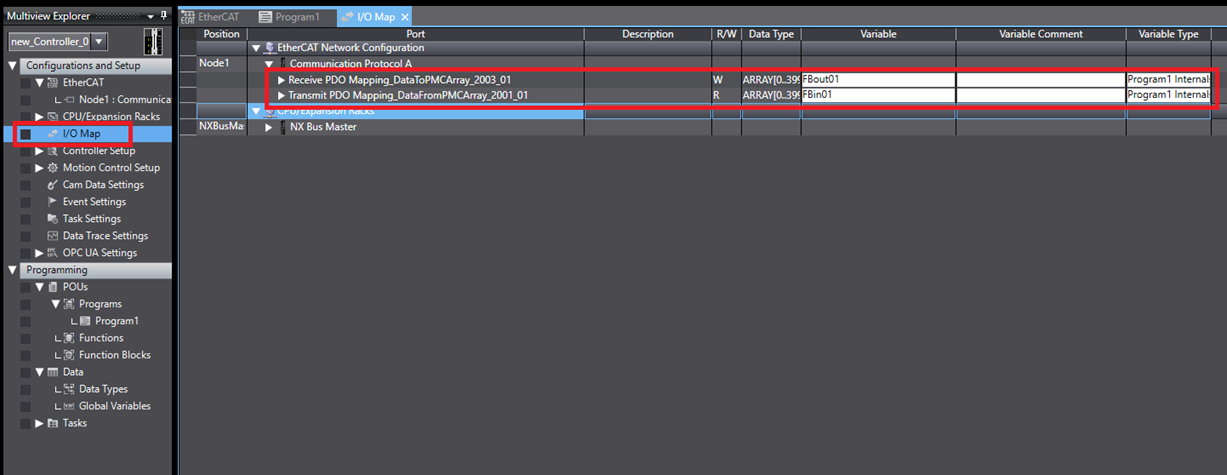
Step 7: In the Multiview Explorer click on Configurations and Setup->I/O Map. In the I/O Map expand the PMC (Communication Protocol A). Map the output 400 byte array to the DataToPMCArray variable (marked as W). Map the input 400 byte array to the DataFromPMCArray variable (marked as R).
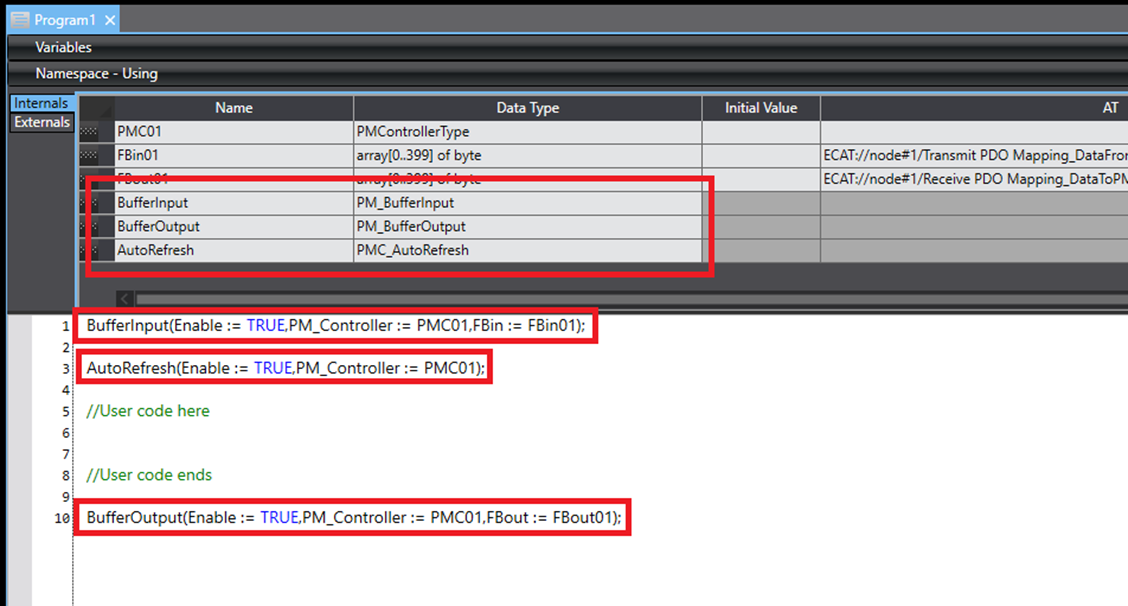
Step 8: In that program, create a PM_BufferInput function block, a PM_BufferOuput function block, and an AutoRefresh function block. At the beginning of the cyclic task, before any other PMC library functions are called, call the BufferInput function block with the input array and then the AutoRefresh function block. Then at the end of the cyclic task, after all the other PMC library functions called, call the BufferOutput function block with the output array.
Upgrade Library
Step 1: Click Project->Library->Show References

Step 2: In the Library Reference window, select the old library and click the Delete Reference button
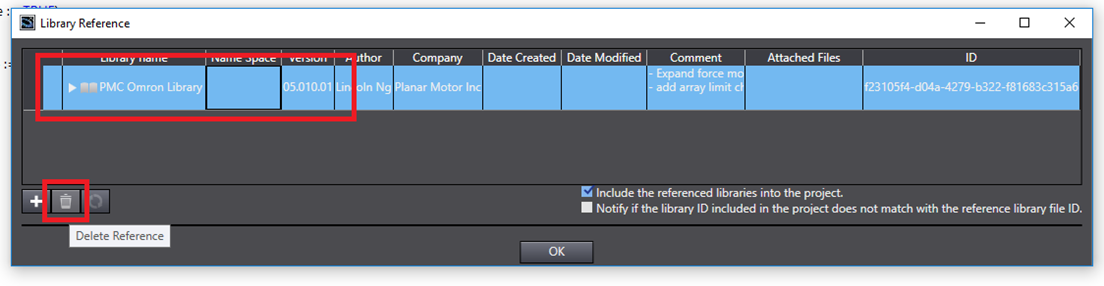
Step 3: Once it is done, delete the old reference (this will take some time), then click the Create Reference button
Step 4: In the Refer to Library File window, navigate to the new library .slr file and select it. Then click the Open button.
Step 5: Once it is done importing the library (this will take some time), click the OK button.
Setup Streaming (Optional) - only for synchronization with external axis
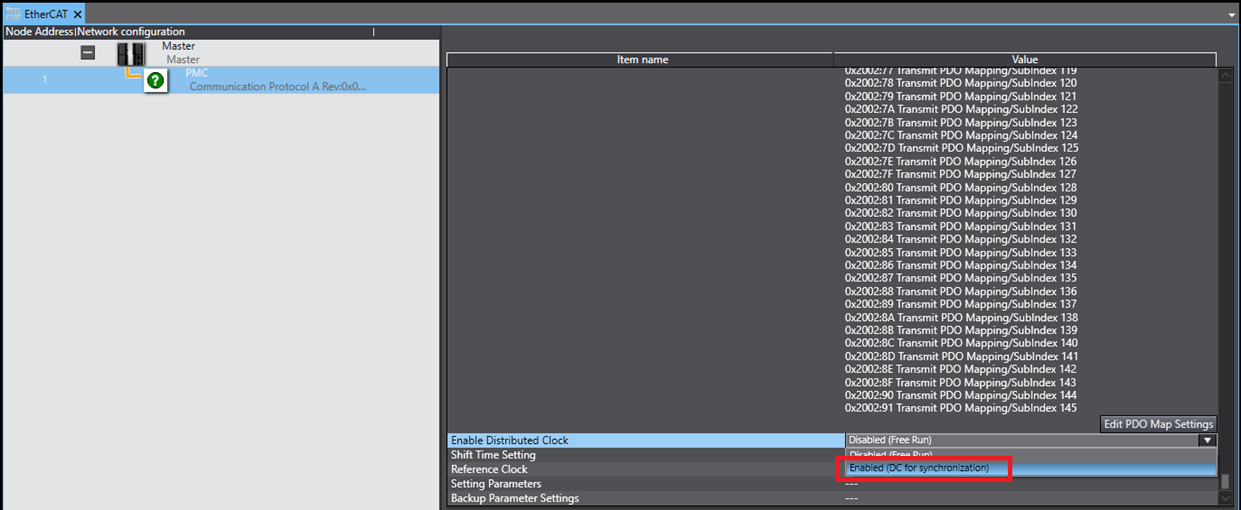
Step 1: In the Multiview Explorer, click Configurations and Setup->EtherCAT
Step 2: In the EtherCAT menu, select the PMC
Step 3: Choose “Enabled (DC for synchronization)” for the Enable Distributed Clock setting
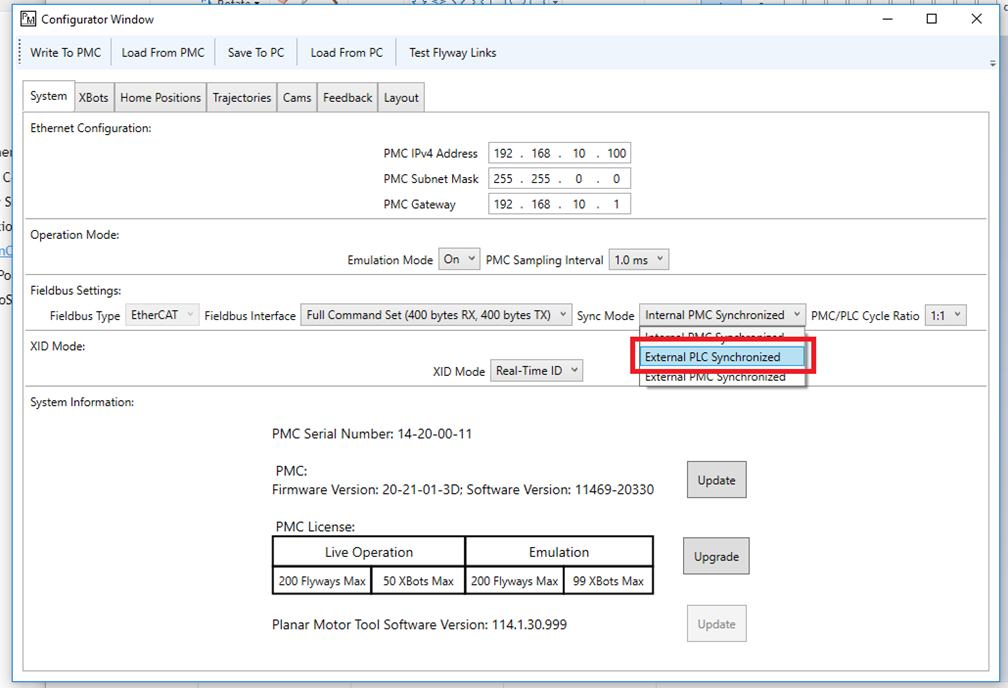
Step 4: In the Planar Motor Tool, open the Configurator, then select “External PLC Synchronized” for the Sync Mode
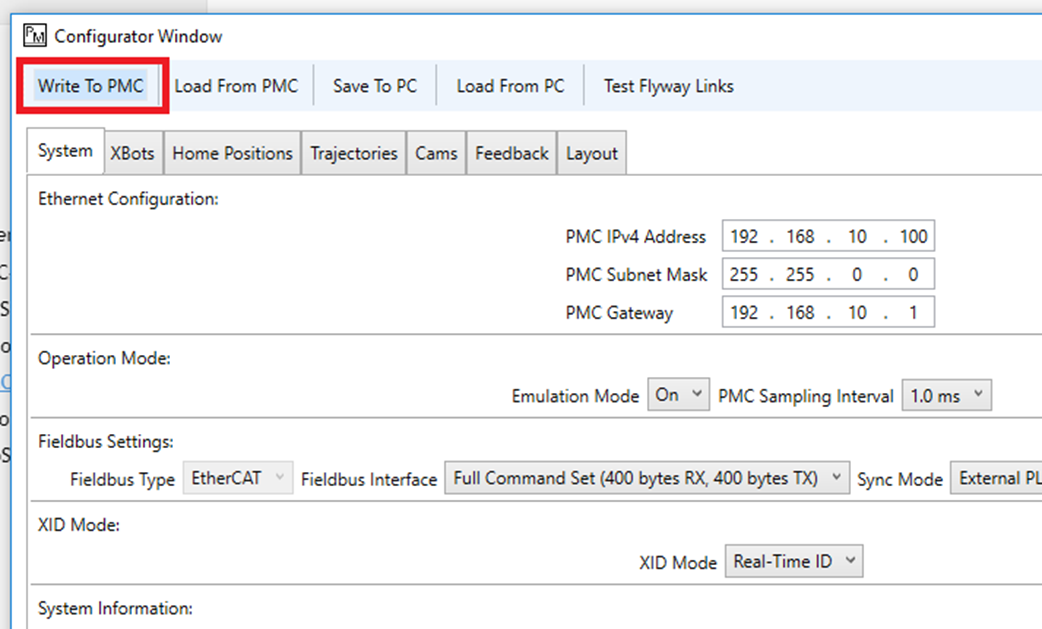
Step 5: Click "Write To PMC" to save the configuration to the PMC.
File I/O on the PLC (Optional)
The following are one possible way to read and write files to the PLC storage. It could be helpful for commands such as Set PMC Configuration.
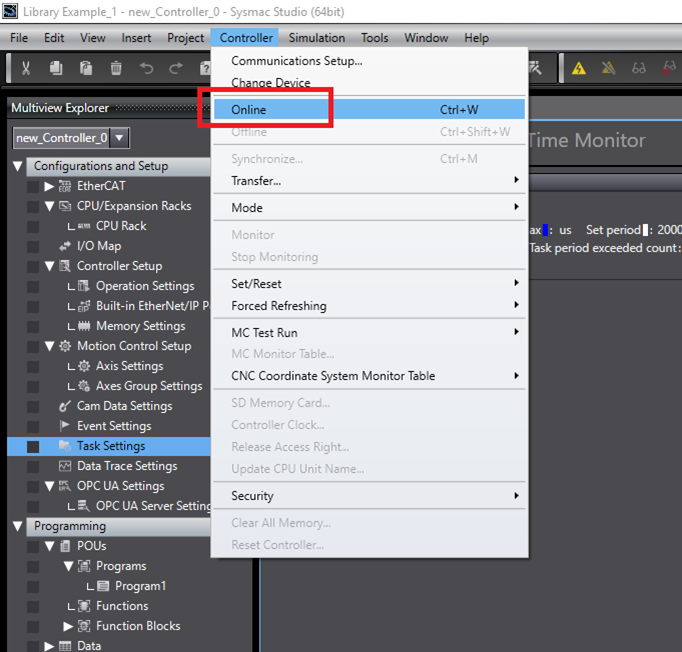
Step 1: Go Online with the PLC: Controller -> Online
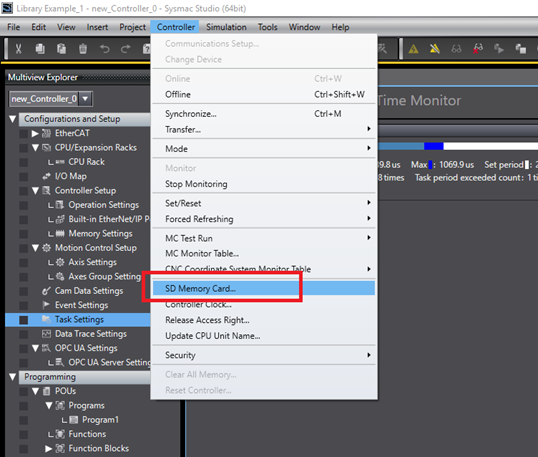
Step 2: Click Controller->SD Memory Card…
Step 3: In the SD Memory Card window navigate to the folder of interest
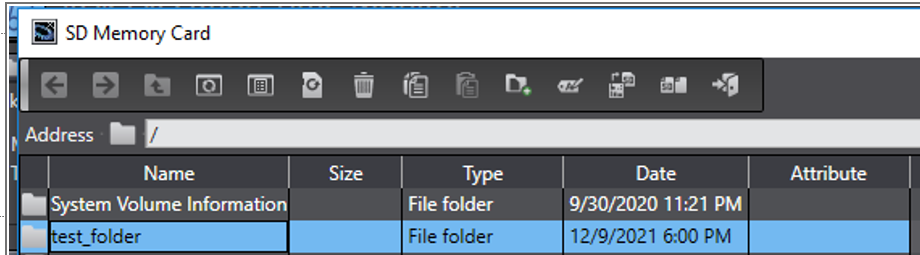
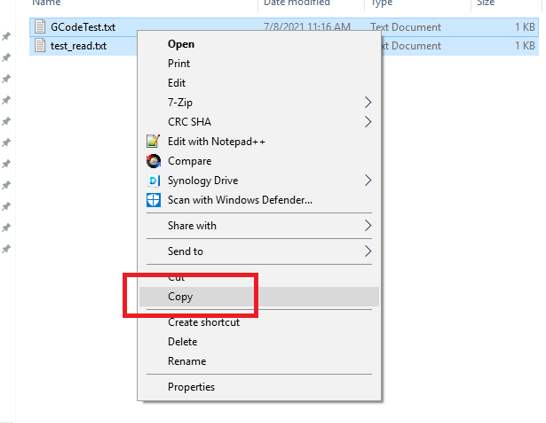
Step 4: Copy the desired files into the folder. Note that drag and drop is not supported, only Copy and Paste