Library Setup
Creating a new project
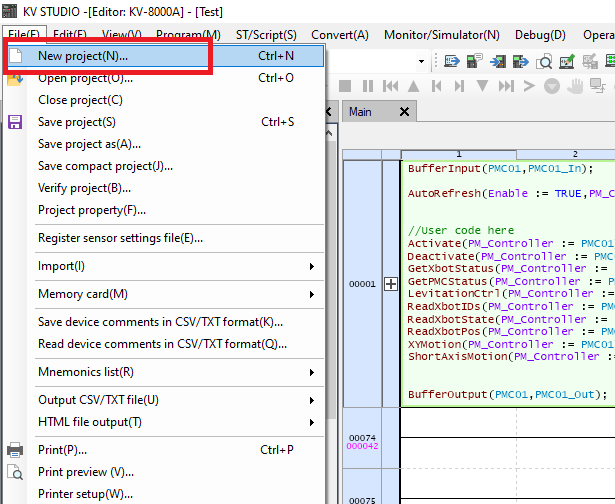
Step 1: Click on File->New project
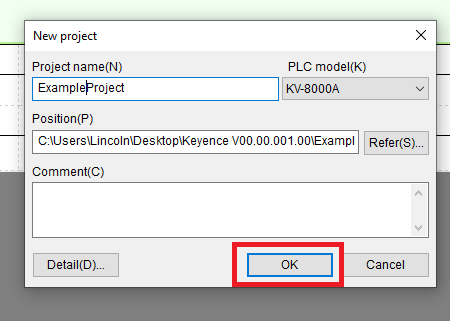
Step 2: Give the new project a name (no spaces) and chose a location for the project files (a new folder will be created for the files). Then click OK
Setup Fieldbus
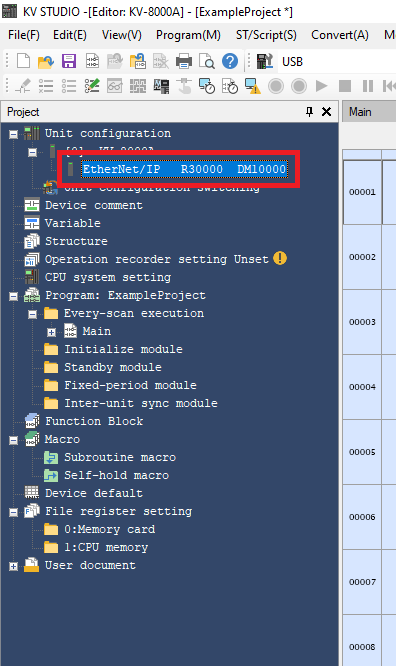
Step 1: In the project window double click Unit configuration->(Controller Name)->EtherNet/IP
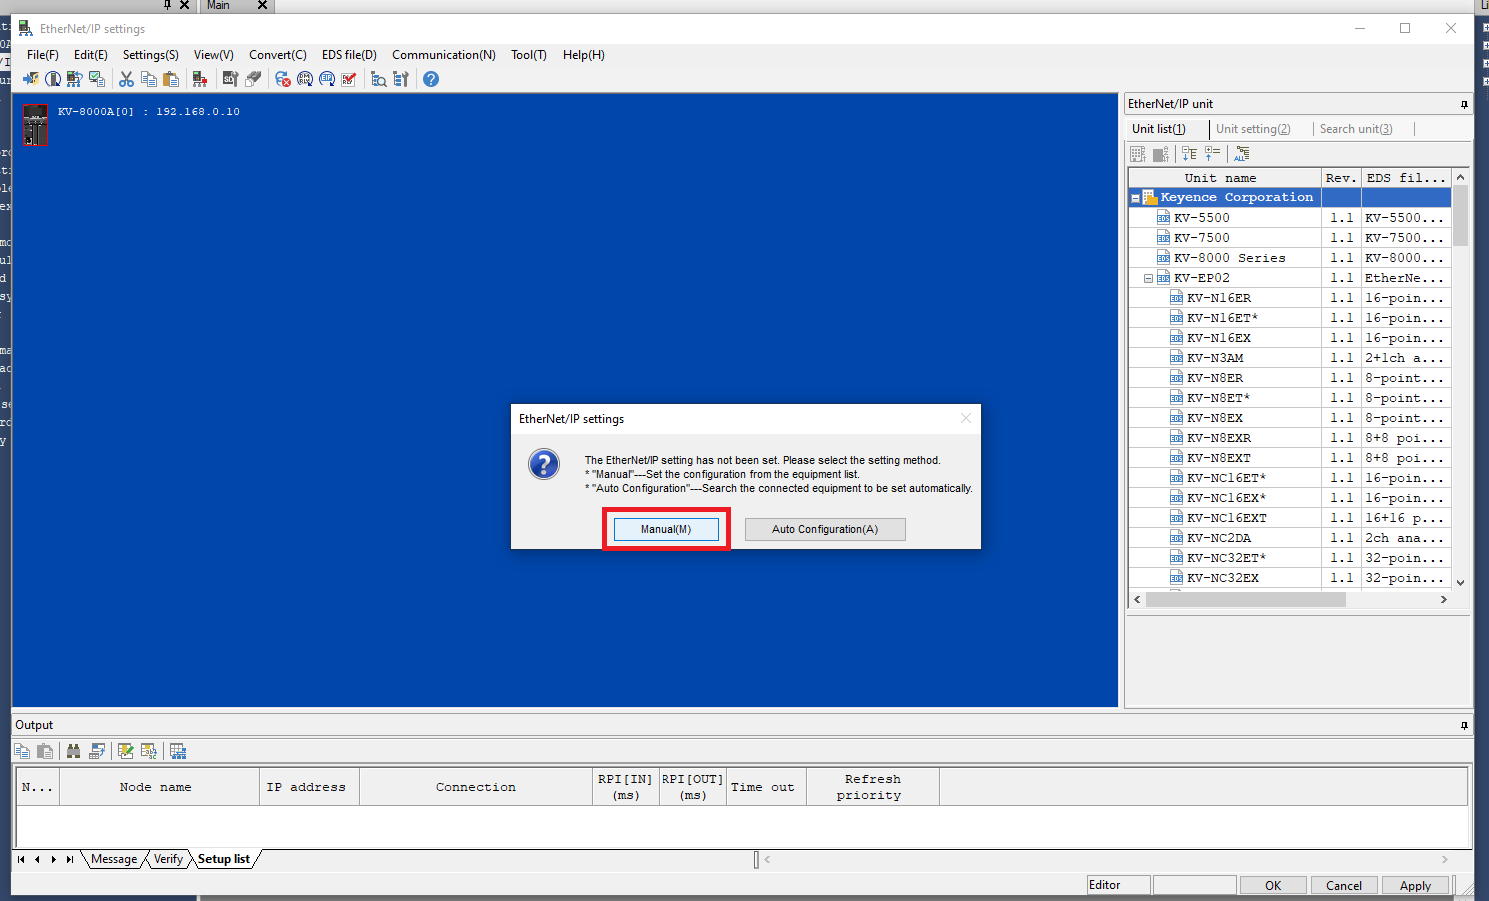
Step 2: In the EtherNet/IP settings window click Manual
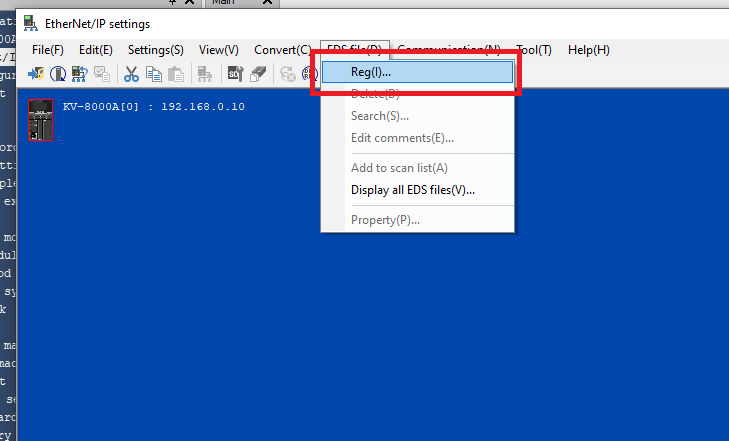
Step 3: If this is the first time using the PMC on this install for KV Studio click EDS file->Reg
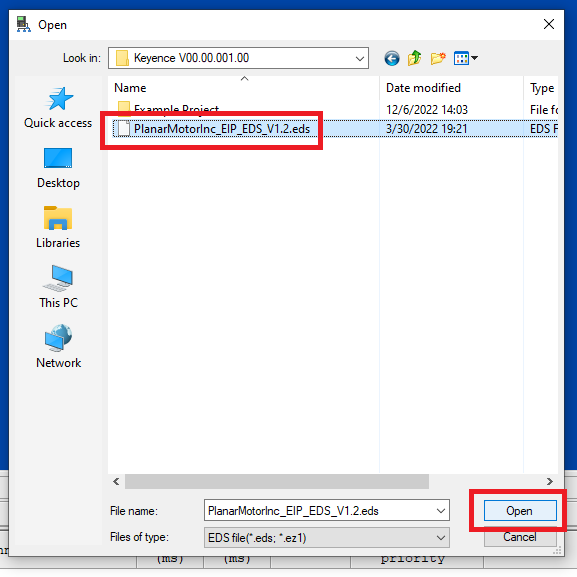
Step 4: Find the PMC EDS file and click Open
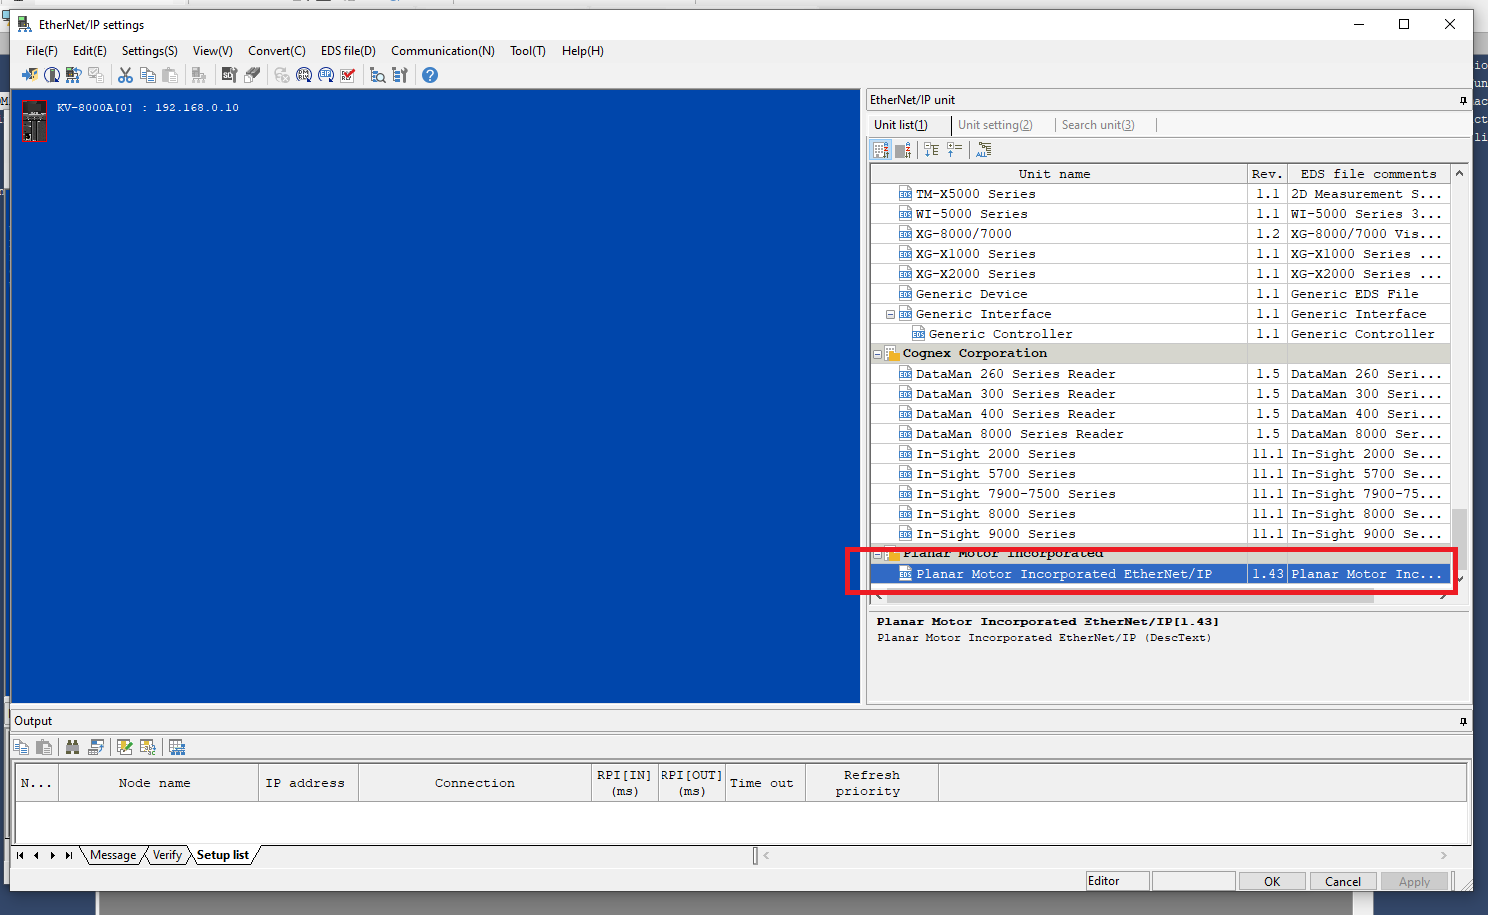
Step 5: In the Unit list find the Planar Motor Incorporated EtherNet/IP entry and double click it
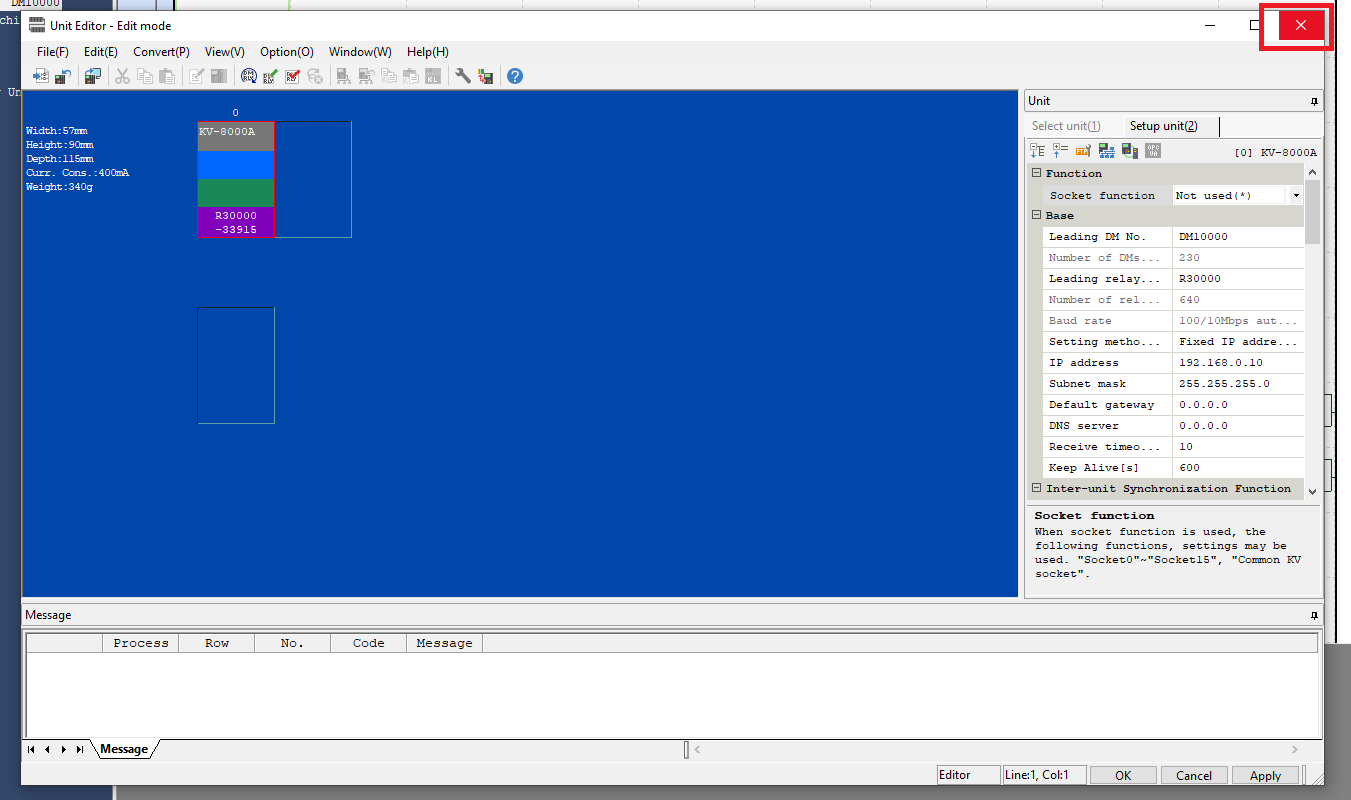
Step 6: When setting the IP address of the PMC make sure that it is on the same subnet (3rd digit from the left) as the PLC
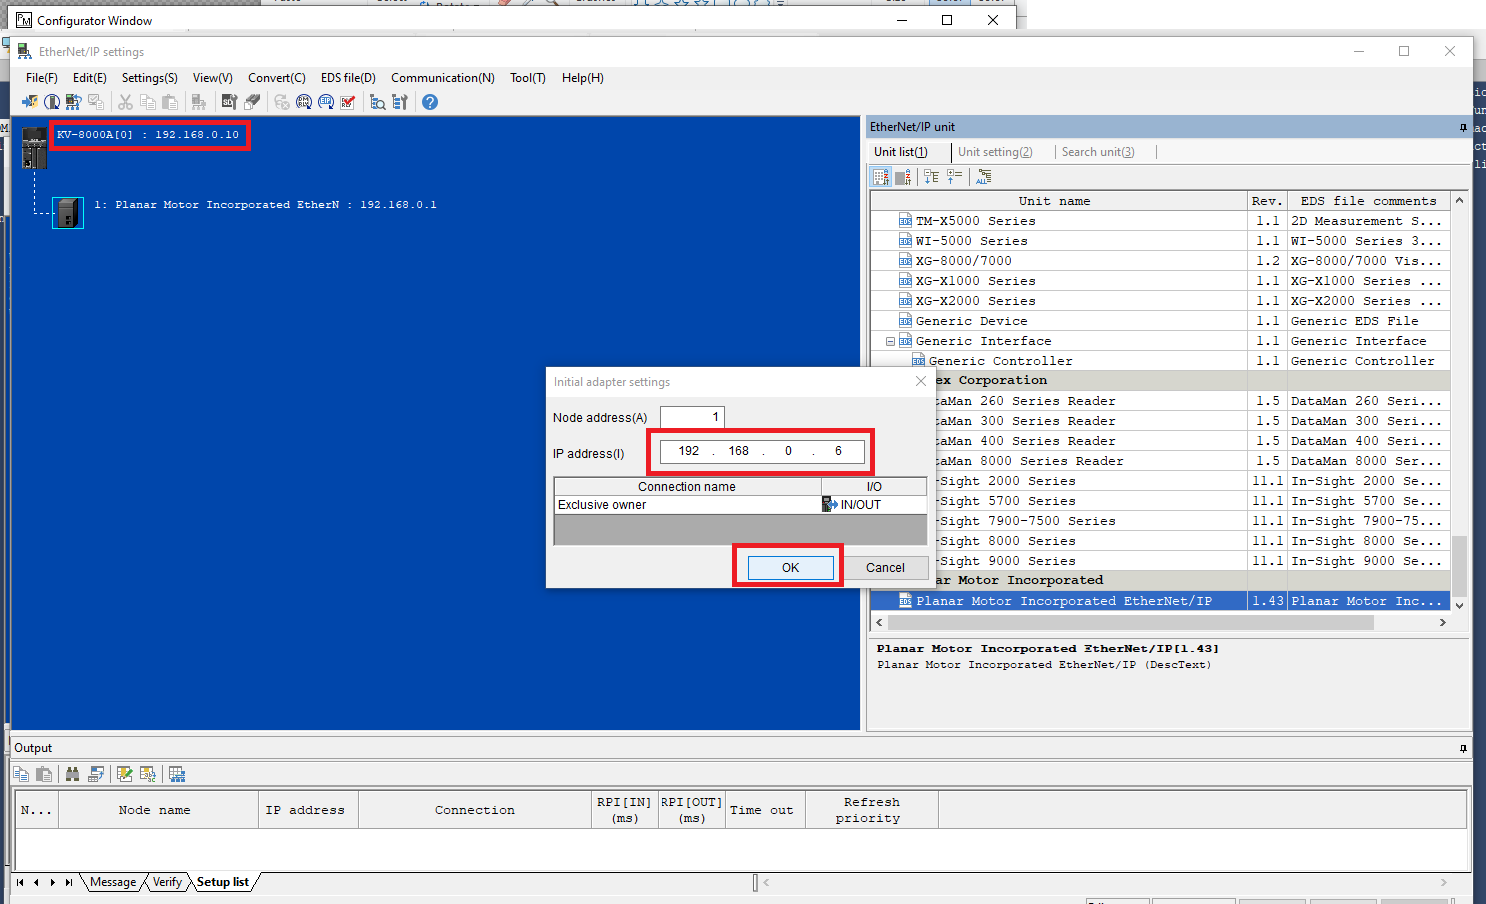
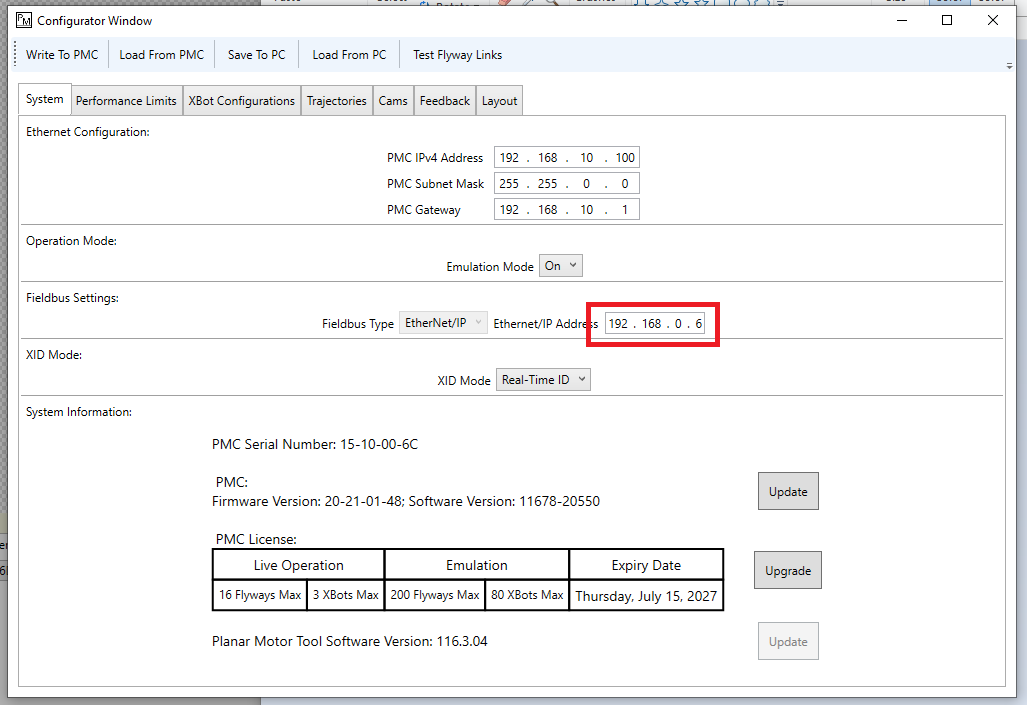
Step 7: Also make sure that the Ethernet/IP address set in KV Studio matches the configuration set in the Planar Motor Tool
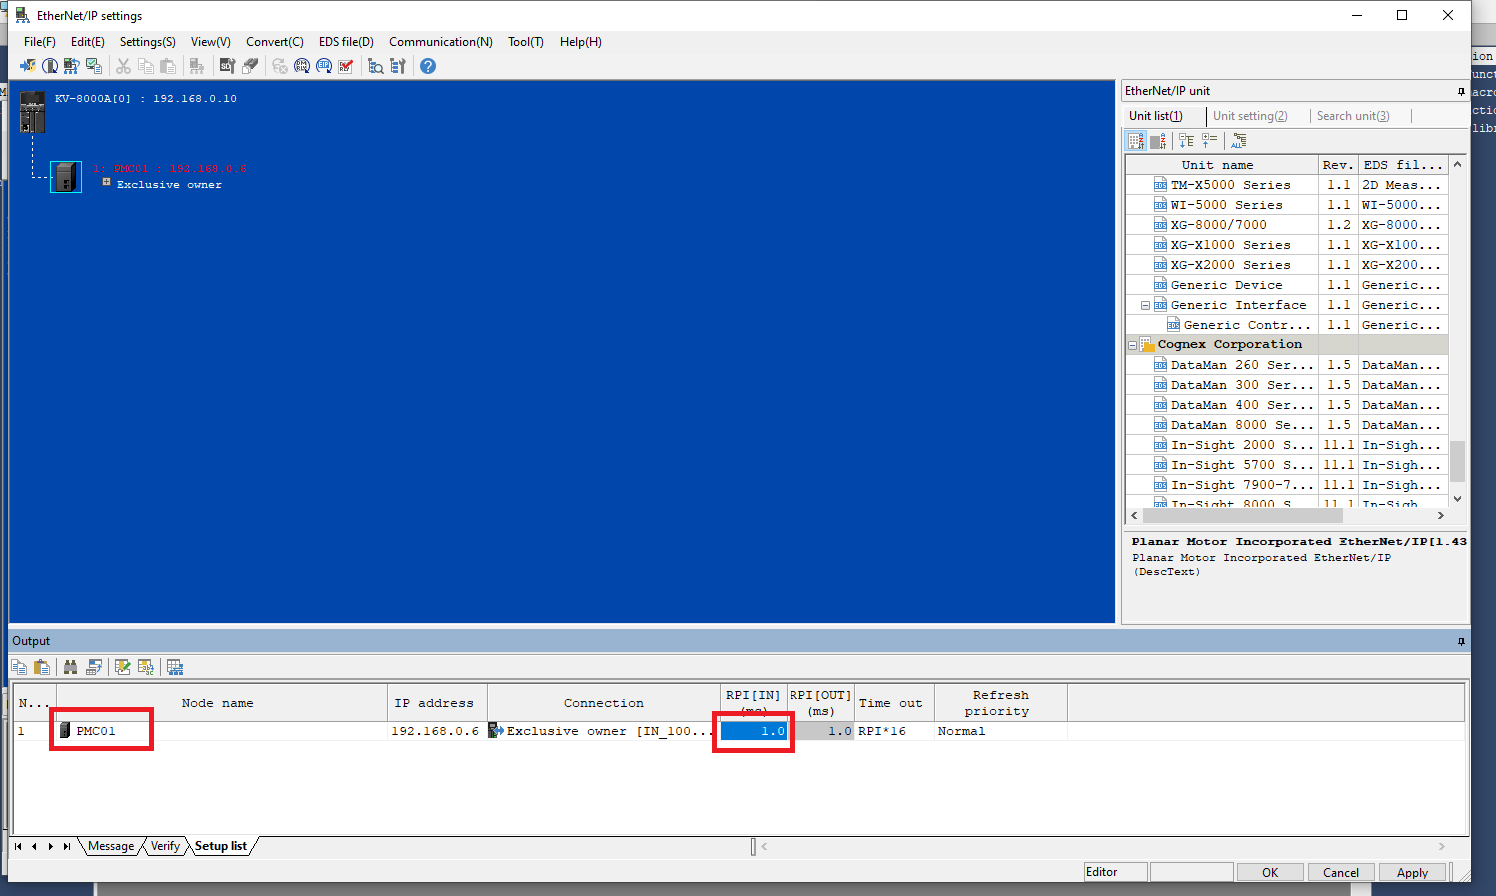
Step 8: For optimum responsiveness set the RPI to be less than or equal to the target program cycle time . You can also give the PMC a name in the KV studio project
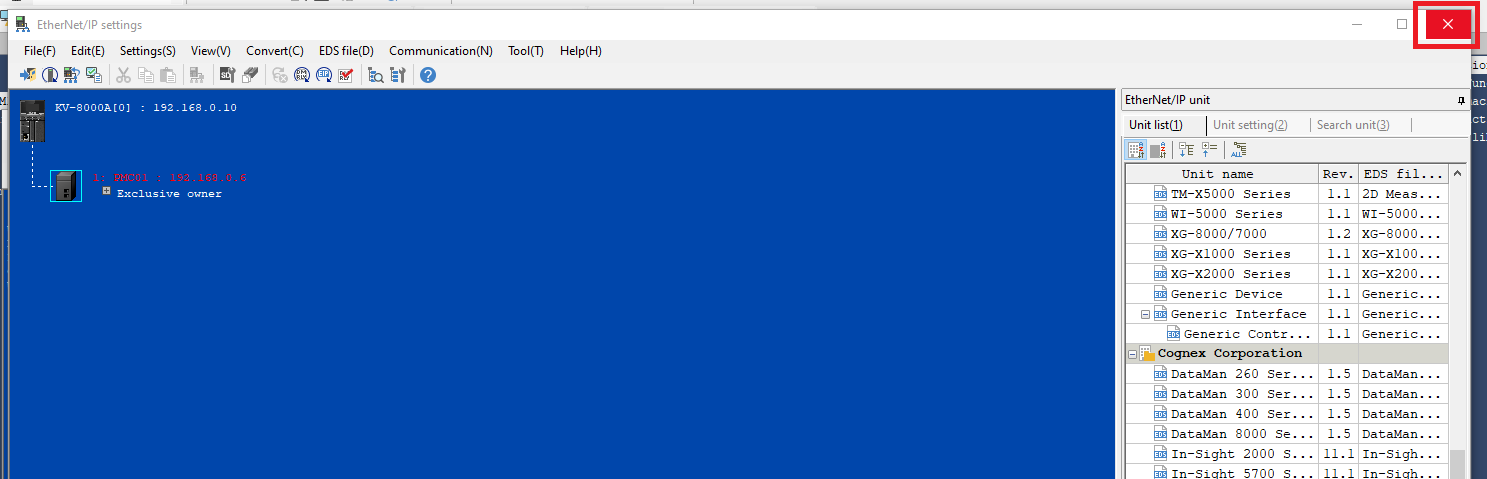
Step 9: Now you can exit the Ethernet/IP settings window
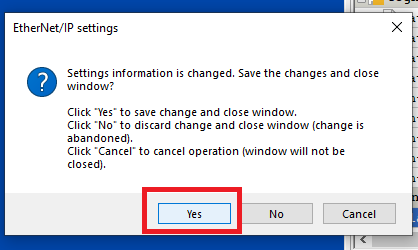
Step 10: Click Yes in the confirmation window
Step 11: Exit the Unit Editor
Step 12: Click Yes in the confirmation window

Step 13: You will be asked to create variables to link to the input and output of the PMC. I suggest giving them names that will make it easy to tell which PMC it is linked to and whether it is the input or output

Import and use library
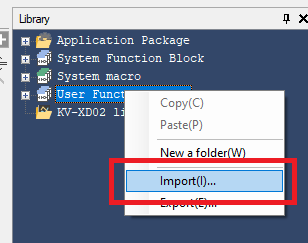
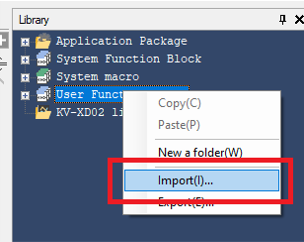
Step 1: In the Library window right click User Function Block and click Import
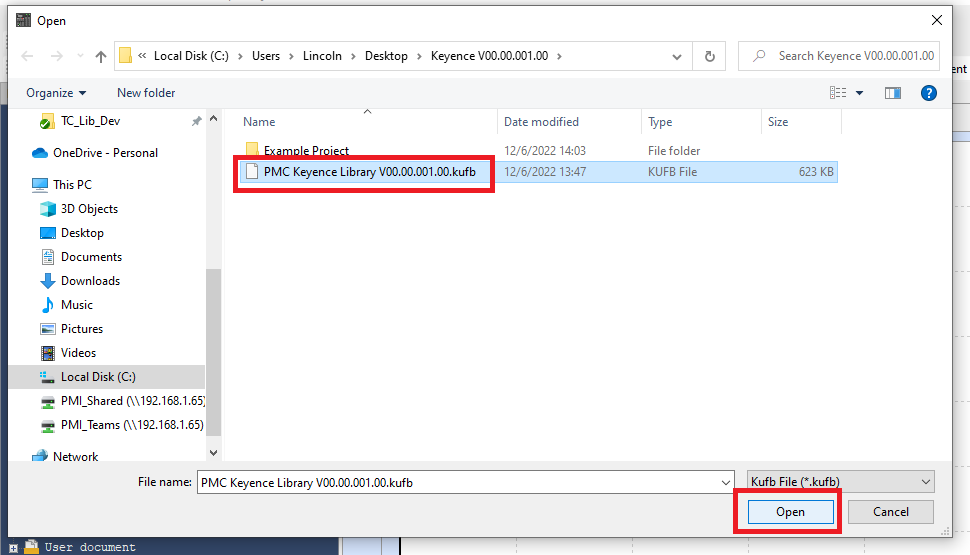
Step 2: Find the PMC Keyence Library .kufb file and click Open
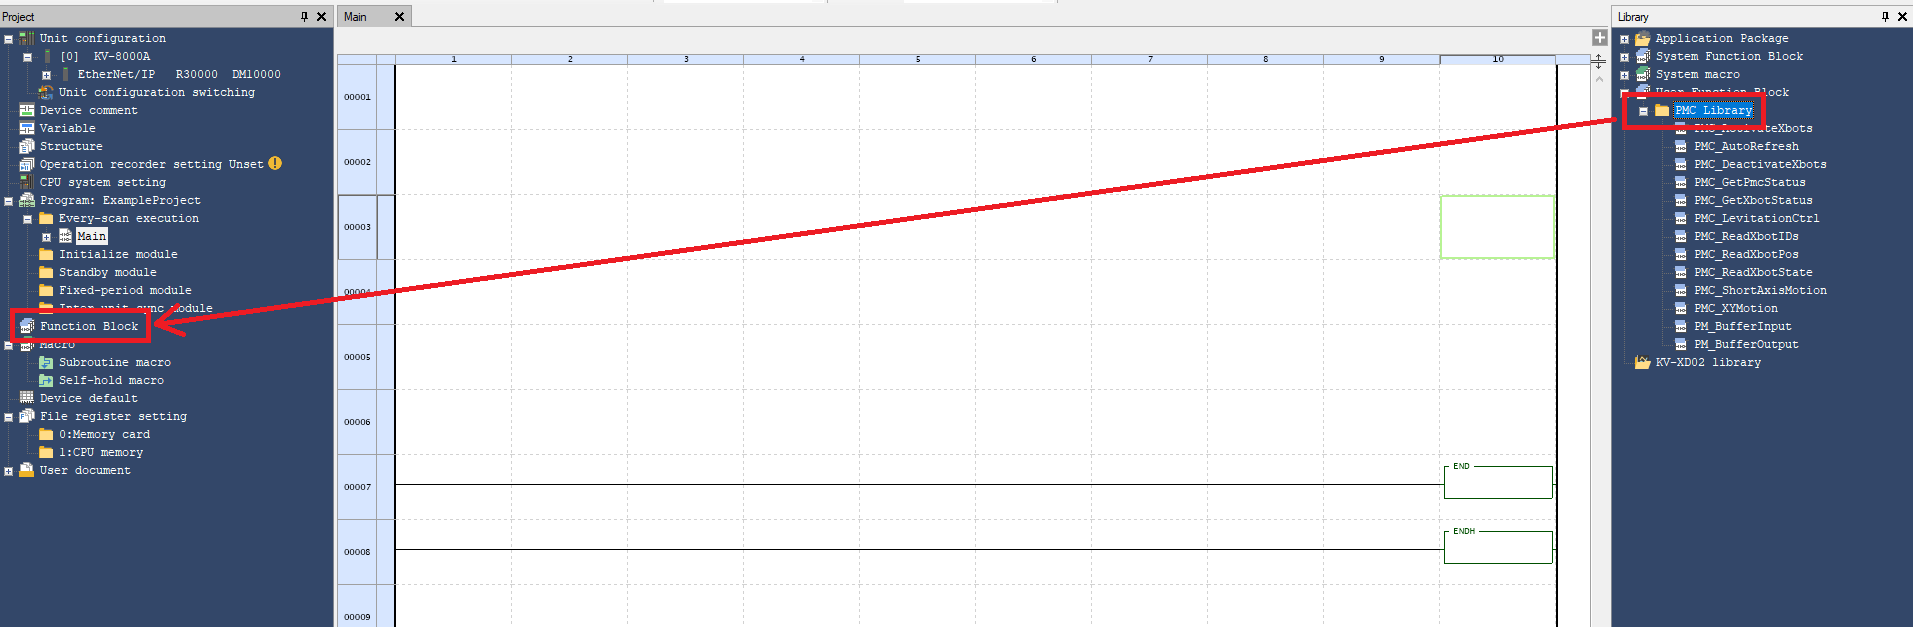
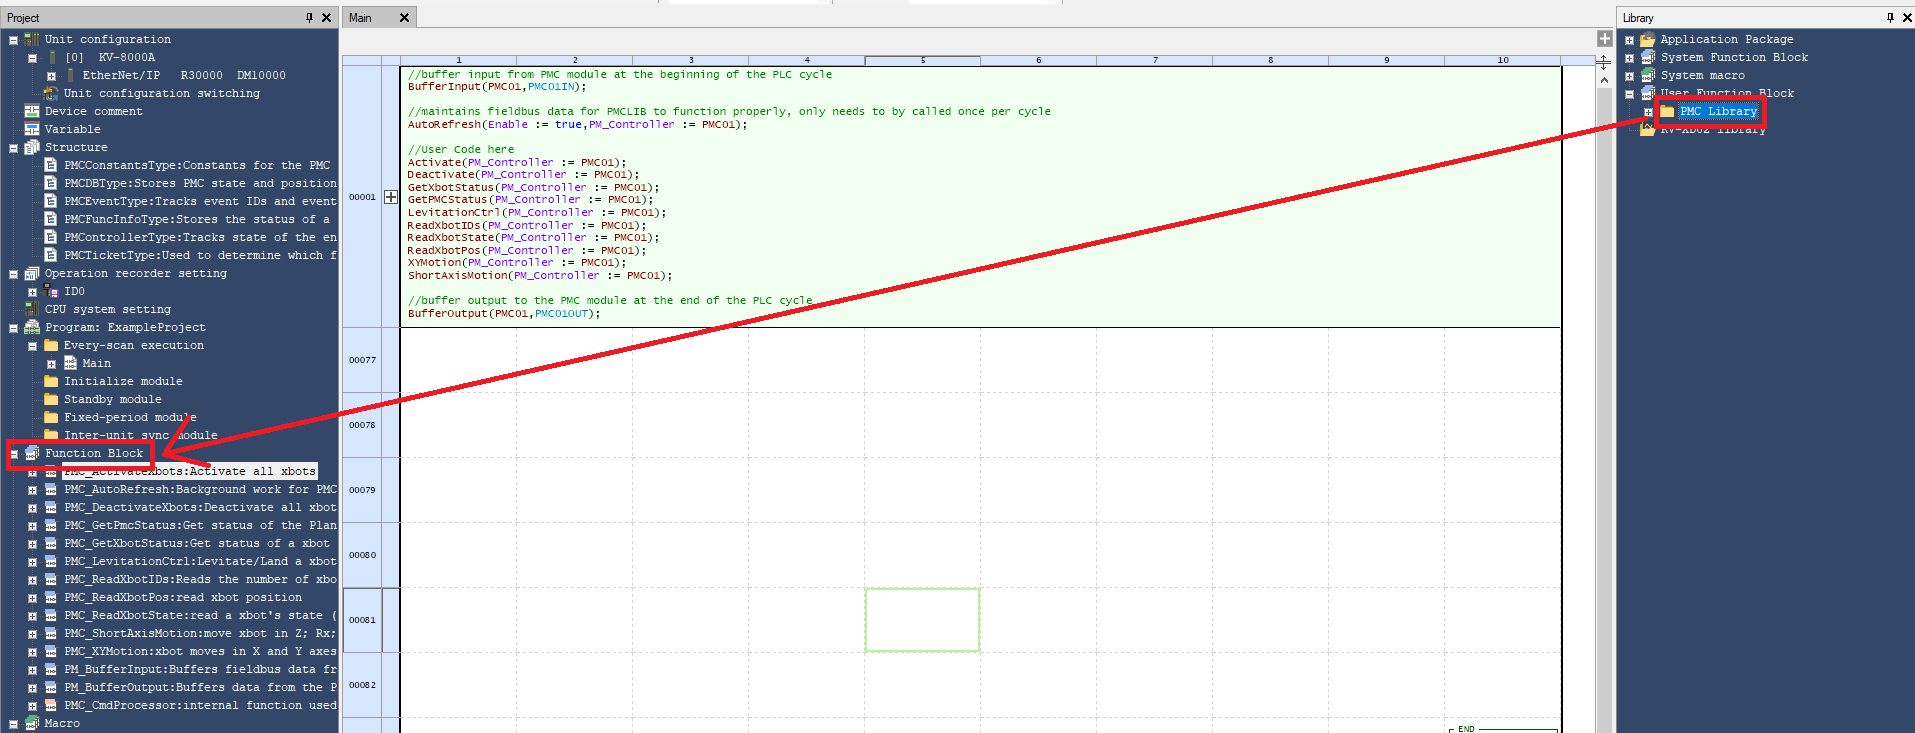
Step 3: Drag and drop the PMC Library folder from the Library window to the Function Block section of the Project window
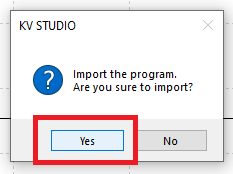
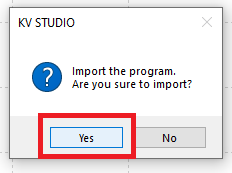
Step 4: Click Yes in the confirmation window
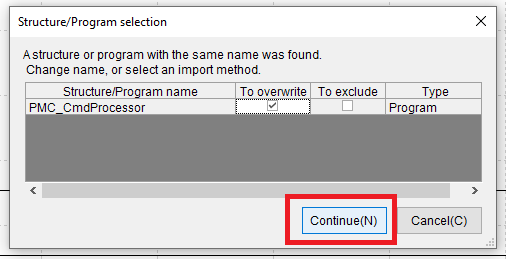
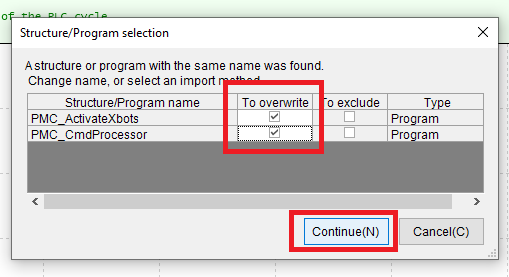
Step 5: The Structure/Program selection window will appear many times (once for almost every function block in the PMC library). Select either To overwrite or To exclude each time it pops up. This shows up because the function PMC_CmdProcessor is used in many of the PMC function blocks as a support function and Keyence does not realize that the function hasn’t changed between function block imports
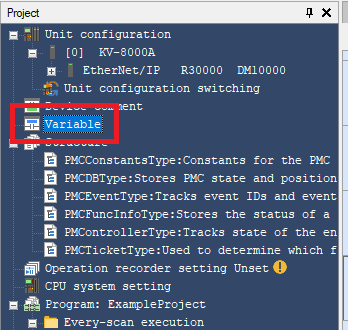
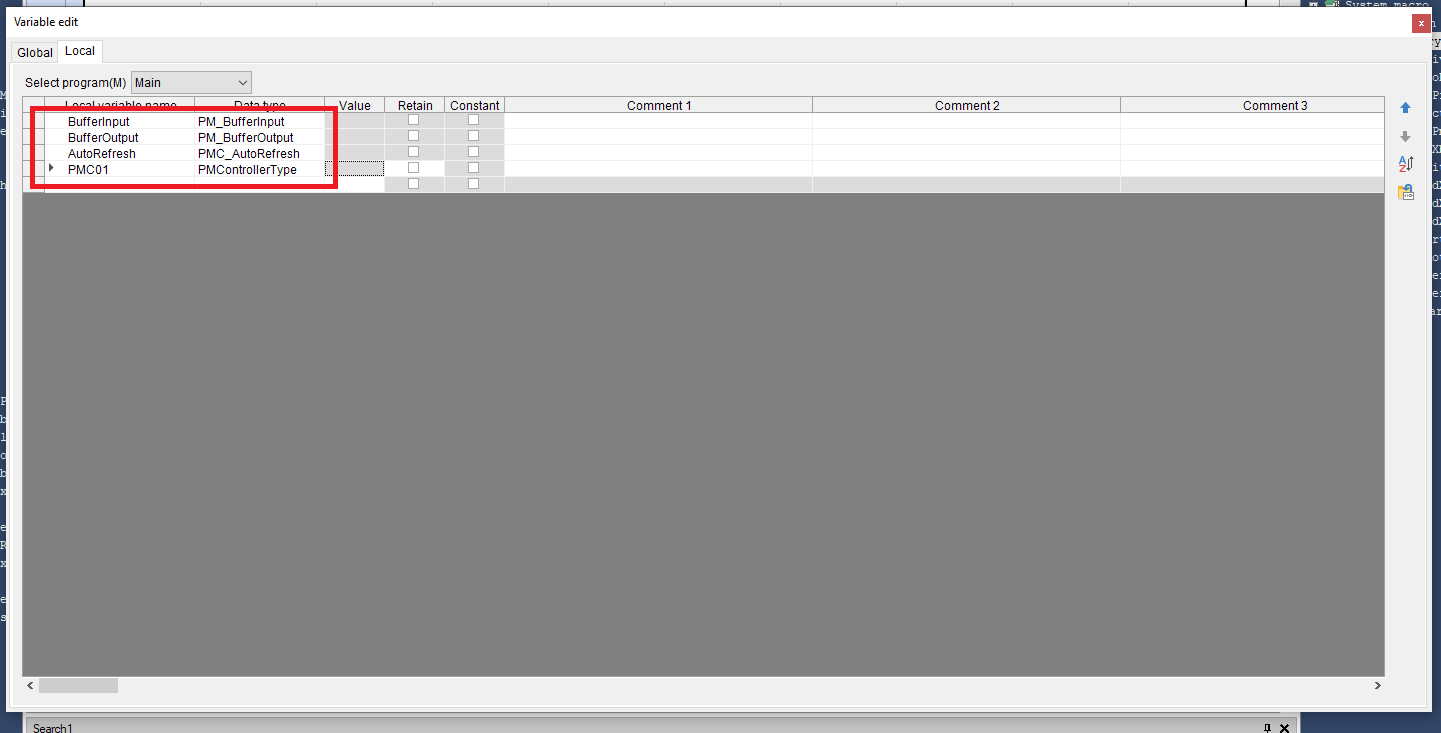
Step 6: Before using the library several variables must be created for each Planar Motor Controller (PLC) used. Double click Variable in the Project window to open the variable editor
Step 7: Once of each of these PMC datatypes: PM_BufferInput, PM_BufferOutput, PMC_AutoRefresh, and PMControllerType should be created for each Planar Motor Controller used by this PLC. It doesn’t matter whether they are created as Local or Global variables
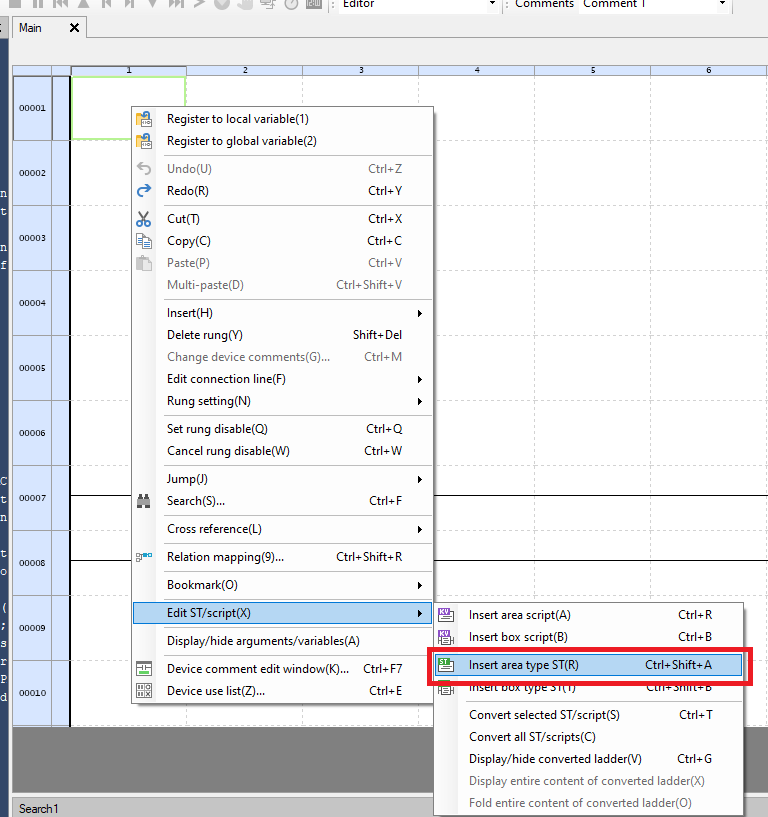
Step 8: For consistency with the included example project we will be using Structured Text. Right click a ladder section and select Edit ST/script->Insert area type ST. (Note: the library is fully compatible with ladder diagram this is just so that it matches the example project)
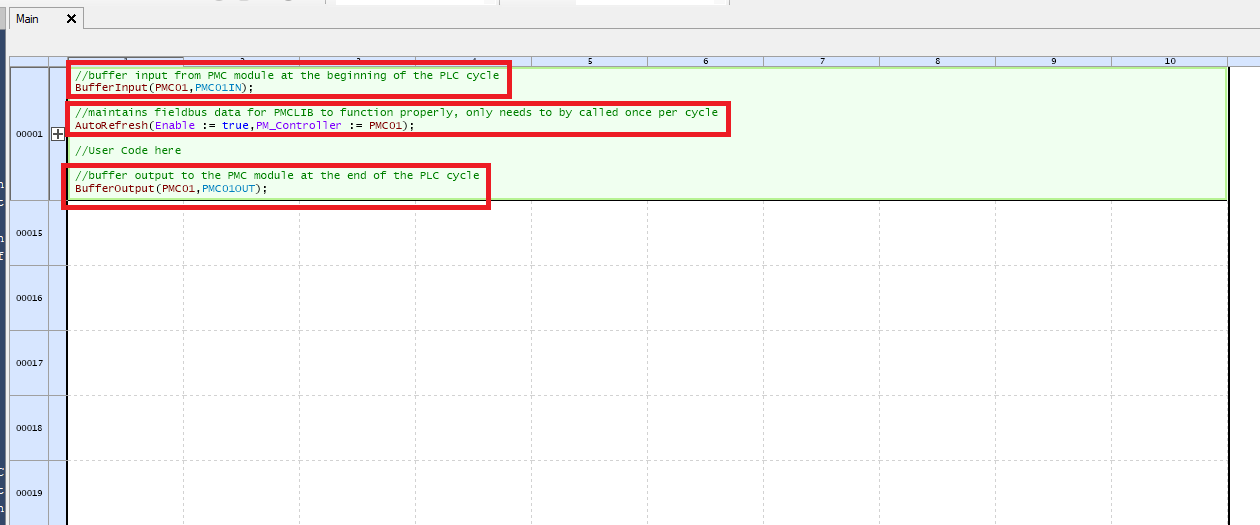
Step 9: In the Main routine make sure the following is done:
-
Call the PM_BufferInput function block once at the beginning of the PLC cycle
-
Call the PMC_AutoRefresh function block once and only once per PLC cycle. Make sure that the AutoRefresh call is after the BufferInput call and before the BufferOutput call.
-
Call the PM_BufferOutput function block once at the end of the PLC cycle
For user code, all PMC AOIs require a PMControllerType as an In/Out. Use the one declared earlier
Upgrade Library
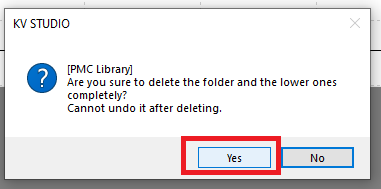
Step 1: In the Library window Right click the old PMC Library folder and select Delete

Step 2: Click Yes in the confirmation window
Step 3: In the Library window right click User Function Block and click Import
Step 4: Find the new PMC Keyence Library .kufb file and click Open

Step 5: Drag and drop the new PMC Library folder from the Library window to the Function Block section of the Project window
Step 6: Click Yes in the confirmation window
Step 7: The Structure/Program selection window will appear many times (once for every function block in the PMC library). Select To overwrite in for all the options then click Continue. Unfortunately KV Studio doesn’t have an option to overwrite all when importing a library
File I/O on the PLC (Optional)
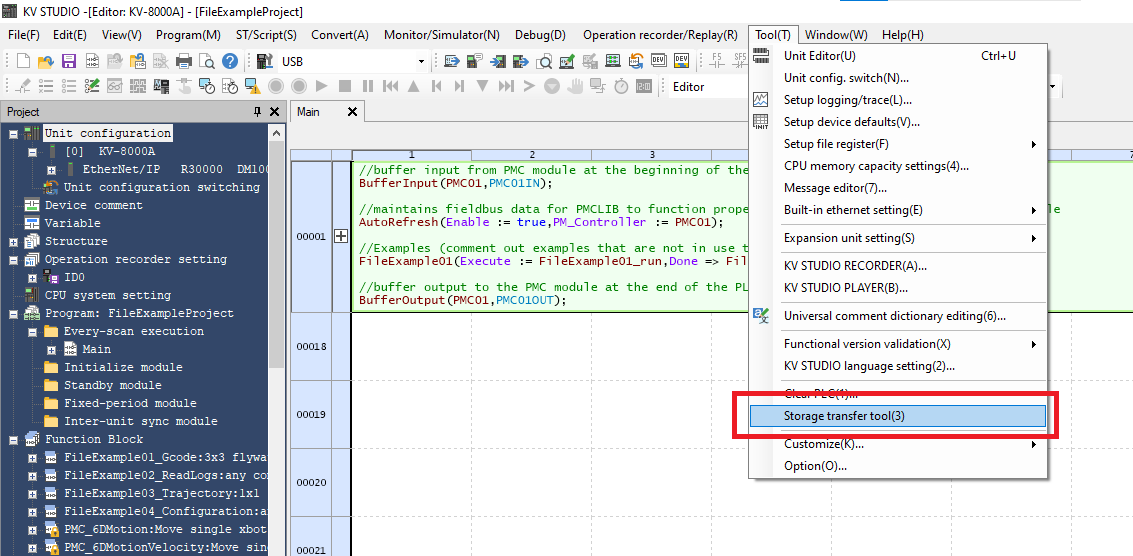
Step 1: Click Tool->Storage transfer tool
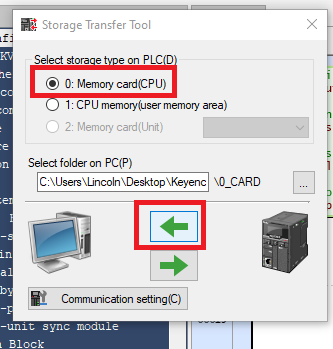
Step 2: In the Storage Transfer Tool window select the storage type on the PLC. I strongly suggest that you use the Memory card because the CPU memory is rough an order of magnitude slower. To download the contents of the memory card to your PC click the <- arrow
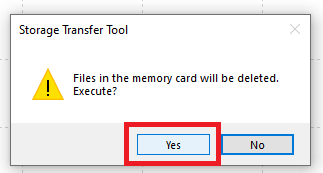
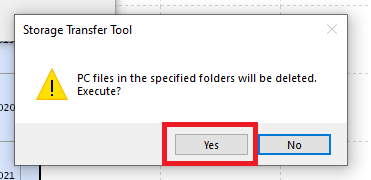
Step 3: Confirm that you are OK with the files in the selected PC directory being deleted
Step 4: The contents of the SD card will then be dumped into the selected directory

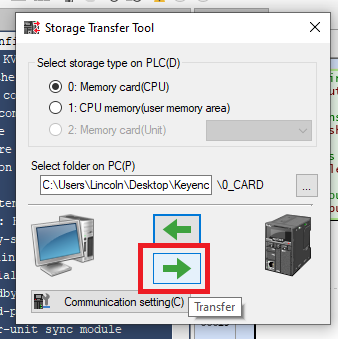
Step 5: To copy files from your PC to the PLC click the -> arrow
Step 6: Confirm that you are OK with the contents of the SD card being overwritten with the contents of the selected directory